The main point is don’t panic: it’s like your Dad always told you – measure twice, cut once! We’re doing the cutting bit so we just need you to do the measuring bit carefully.
Custom made sails can be made based on measurements from your old sail, or from rig measurements off your boat, and there are distinct knacks to both. In all scenarios you’ll need a long (preferably metal) tape measure, and these are available from hardware stores like Screwfix very affordably. DO NOT use bits of string or short tape measures it will VERY LIKELY GO WRONG if you do!
Also be mindful you are measuring for the sail, so don’t measure masts to sheave points and supply that as this is what we’ll make it to – and it will not fit!
If the boat is accessible some dimensions can be double checked on board. These are the Genoa luff, the Mainsail luff, the Mainsail foot, and on standard mainsails the “Tack Cut Back”.
Genoa luff
Hoist the tape measure up using the genoa halyard attached to the head swivel and the tape attached to the sails normal attachment point (make sure to add a length of light line so you can get it back down again without relying on the tape alone!). Hoist all the way to the top – effectively the absolute maximum hoist distance – and measure to the tack attachment shackle, and make note of this dimension.
For the sail luff length, make a 2% deduction – so if the max hoist is 10000mm 2% = 200mm so sail length will be 9800mm. This deduction allows for the head and tack webbings and potential stretch so it puts the head swivel in the optimum spot for furling. On furling sails (mains and genoas) we fit soft webbing loops at the head and tack, these are around 50-60mm long each.
Mainsail luff
This is pretty much the same as above (including remembering to attach a line to retrieve it with!) but the tape goes on the main halyard (or head attachment shackle for furlers) and you hoist all the way up then measure down to the boom or (if you have one) black band on the mast (or to the ‘tack hook’ on your furler if this is different). Again make a 2% deduction as this gives a safe cut luff length to account for tension and stretch as the sail ages.
Main foot
This dimension is taken from the aft face of the mast to the desired clew position of the sail: If you are having sliders fitted on the luff of the main deduct 45mm as this is the amount the slide and shackle will stand off the sail. So, a 3000mm measured foot will be a cut dimension of 2955mm (this deduction is not required on in-mast mains of course).
“Tack Cut Back”
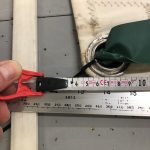
This one is worth a quick explanation. The tack is usually retained by a shackle that sits forward of where the luff of the sail sits in use, so we ‘cut back’ the bottom of the luff to your tack position to ensure a good fit.
If measured on the boat it is again taken from the back face of the mast measured aft along the boom to the bearing point on the tack shackle. A common dimension on a mid-sized boat with a Selden rig is 90mm again this needs to be reduced by the slider stand off so 90mm – 45mm gives a tack cut back dimension of 45mm “aft” of the luff.
Measuring your old sail
If you have the old sails to hand this is often the quickest way to go. Also handy to have are a couple of old sail battens as these help to define corners, and an extra pair of hands to pull out the sails and fold them up afterwards.
Before we get into detail its worth explain how we define the corners of the sail. It’s not to the bearing points of rings or webbing – but to the edge of the sail itself, as follows:
The head point is at the forward corner of the sail where the luff ends. Likewise the tack point is the lowest edge of the luff where it intersects with the foot.
The clew is where the two sail battens come in handy, lay one along the foot and one along the leach, the clew point is where they intersect – you may find this technique useful at the tack too (but be mindful of your Tack Cut Back when doing this – see below).
With these defined, establishing dimensions just requires the sail edges to be straight. This is not always easy when the sail has ‘depth’ built in, and the edges are all curved, but here’s the trick: Z folding.
Lay the sail our flat on the ground and with your helper flake the sail along the edge with a fold line about 1m back (see Z Flake image for guidance). This basically sucks any shape out of the sail and make it far easier to measure. Put modest tension between the corners and dimension to the points above in a straight line (ignoring any curves in the sail the tape crosses or bridges).
For genoas, make note of the side of sail the UV strip is fitted, as you will need to specify this as ‘Port’ or ‘Starboard’.
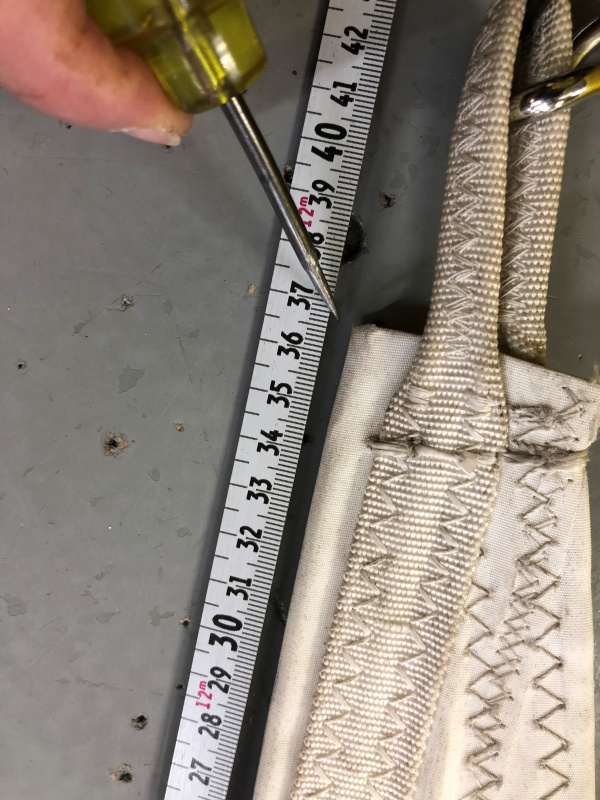
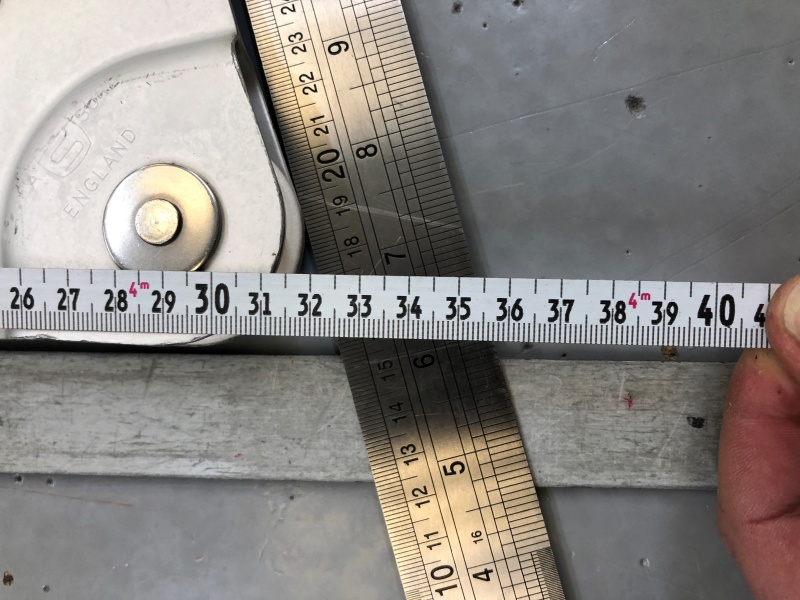
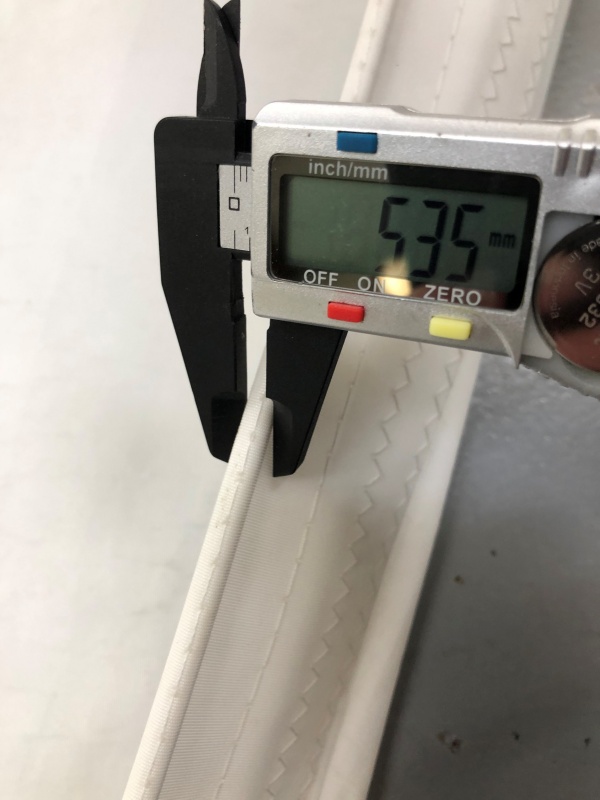
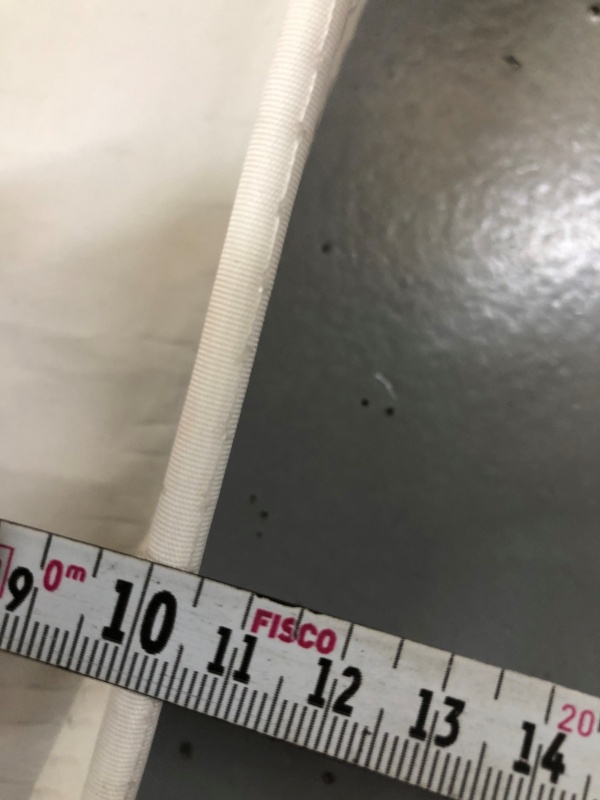
For genoas and in-mast mains don’t forget to check the luff rope diameter, either measure using a micrometer or Vernier caliper if possible (rounding up or down as manufacturing consistency and age can give varying measurements). A handy hack is to compare to a drill bit and use this to judge the diameter by ‘feel’!
For mainsails the tack angles are fixed (see product pages), and are not adjustable so for boats with arches or big cockpit covers double check this or talk to the team at Kemp about a bespoke sail build.
If you select reefs on a standard mainsail these will be fitted with reef one at around 12% of the way up the luff, reef two at around 25% of the luff and reef three at around 40% of the luff. We sometimes go slightly higher to clear a batten pocket if this is an issue, and by doing this an e-sail main will conform with ORC safety regulations for a third reef, and reefs one and two will work with most common single line reefing systems.
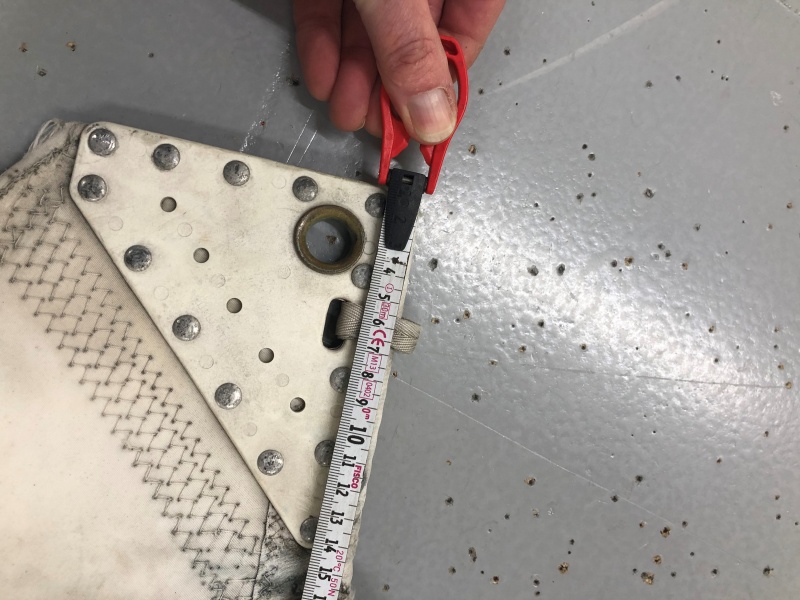
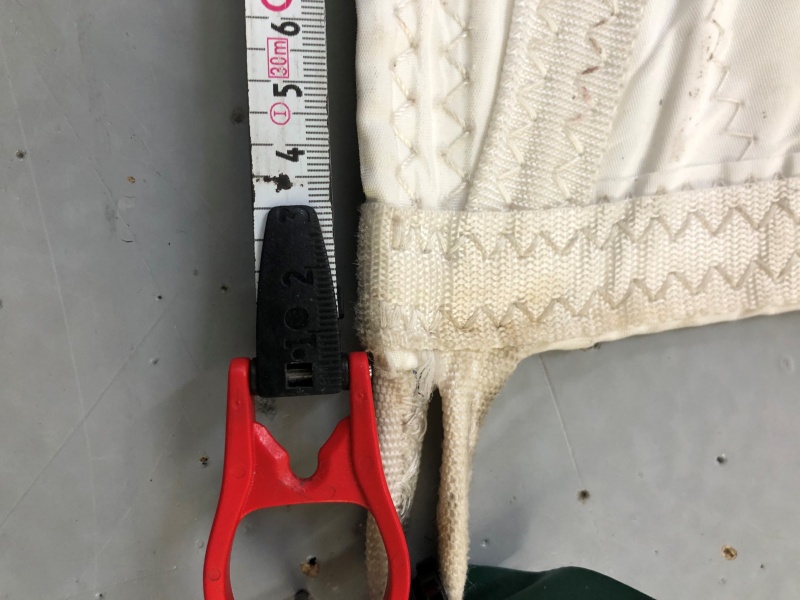
Finally, to measure the tack cut back on a normal main, begin by making sure the area around the tack is as flat as possible. Using the two sail battens lay one along the luff adjacent to the luff rope or tape and one along the foot adjacent to the foot tape / rope. From the intersection point of the two battens measure to the corner of the sail, and this is the “Tack Cut Back”.
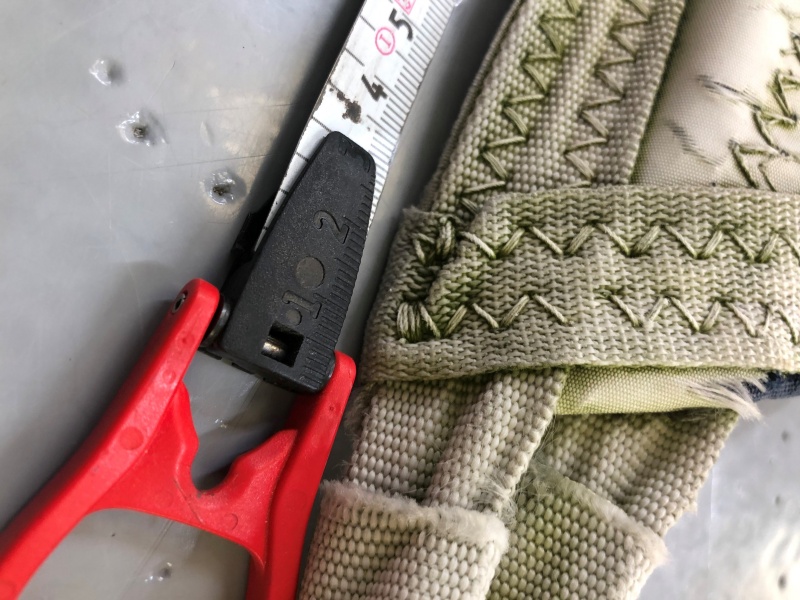
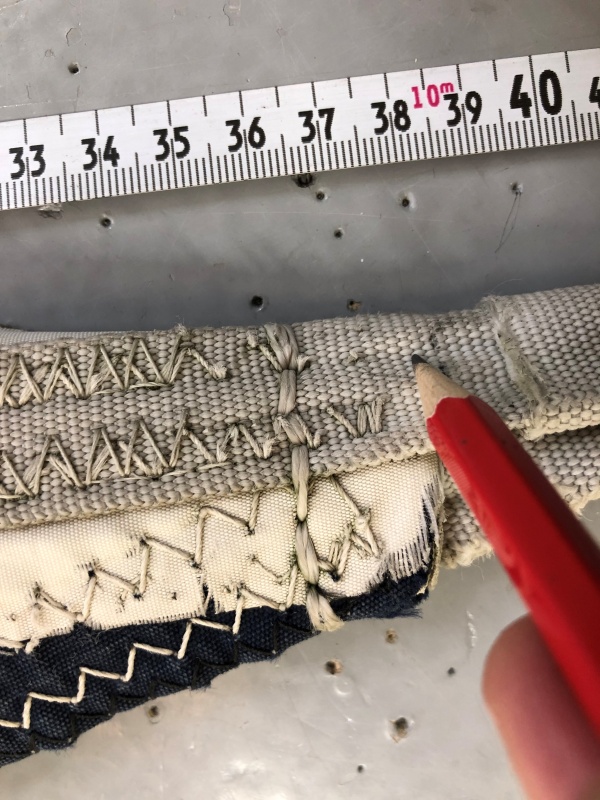
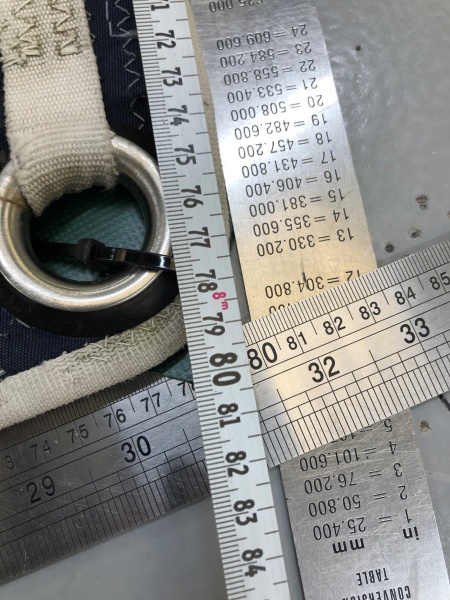
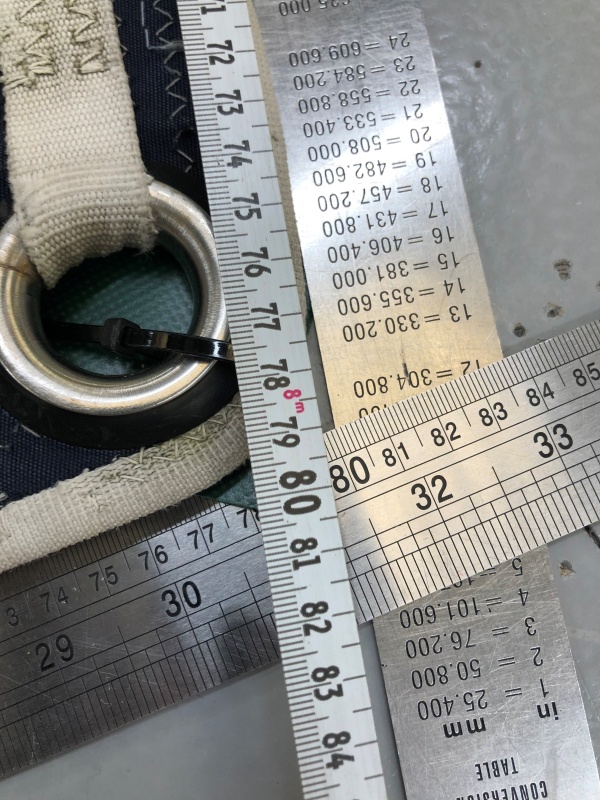
MEASURING YOUR OWN SAILS – useful pictures


